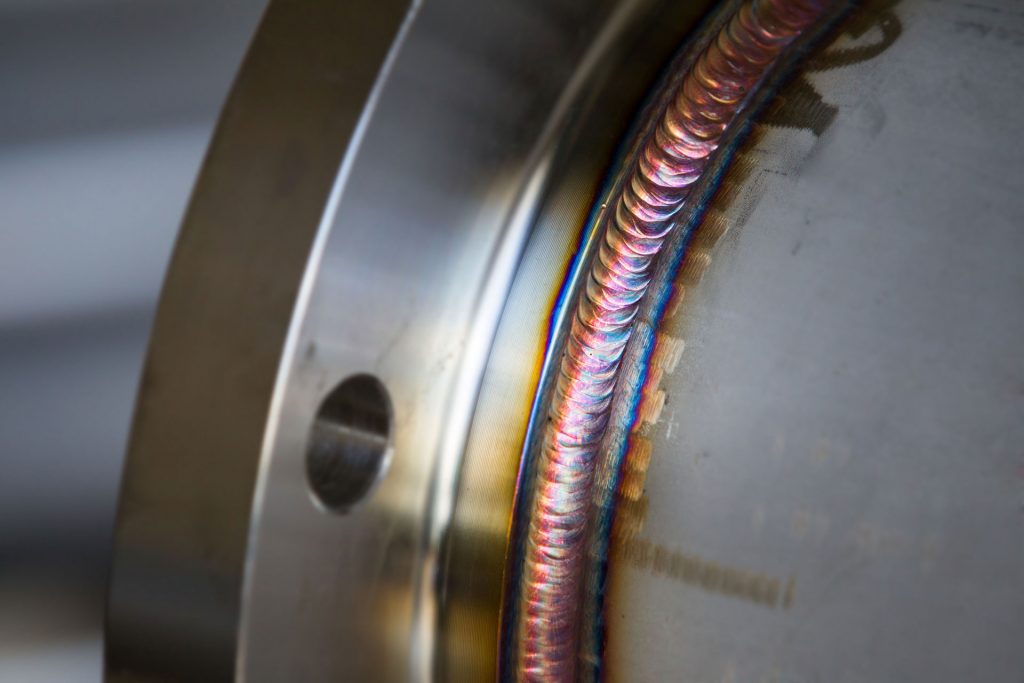
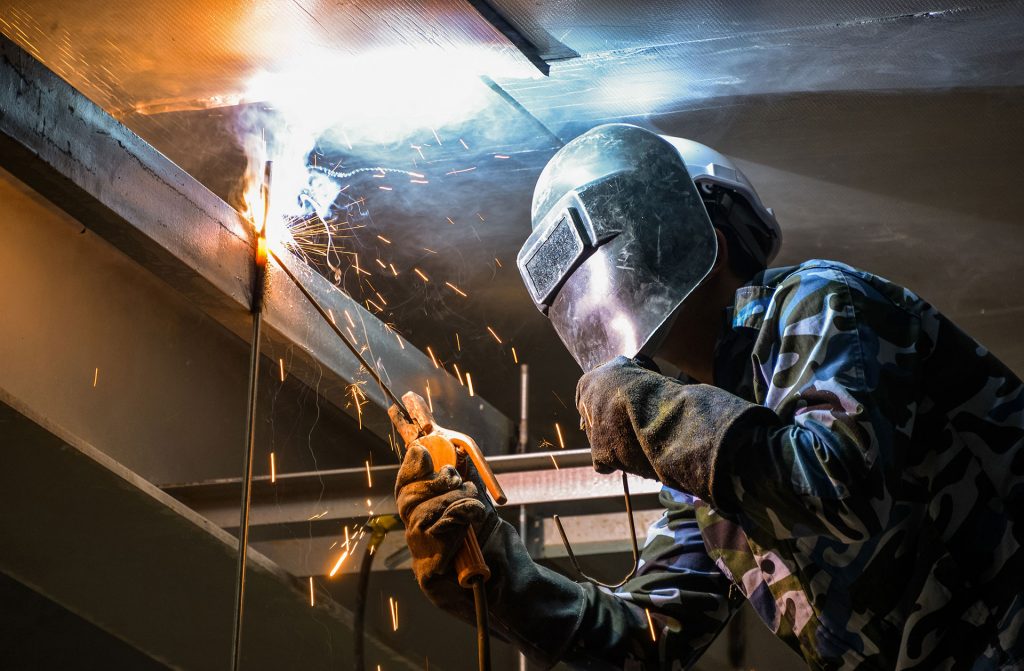
Weldments
QUALITY INSPECTIONS
Tru-Tec NDT performs visual and non-destructive testing surface inspections on all weld configurations. Volumetric weld examination is normally restricted to part and full penetration Butt Welds.

Structural and non-structural joint configurations assessed:
- Butt Joints, Single Bevel & Double V
- Part Penetration
- Corner Joints
- Edge Joints
- Lap Joints
- Tee Joints
- Fillet Joints
Welding processes/techniques vary in relation to material specification, parent material depth, joint configuration and weld quality requirements.
Typical processes include:
- Manual metallic arc Welding (MMA) Welding code: 111
- Manual Inert Gas Welding (MIG) Welding code: 131, 132, 133
- Manual Active Gas Welding (MAG) Welding code: 135, 136, 138
- Tungsten Inert Gas Welding (TIG) Welding code: 141, 142, 143
- Tungsten Active Gas Welding (TAG) Welding code: 145, 146, 147
- Fluxed Core Arc Welding (FCAW) Welding code: 115, 136
- Submerged Arc Welding (SAW) Welding code: 121, 122, 124, 125, 126
- Electroslag Welding (ESW) Welding code: 721, 722
Post weld examinations commence after sufficient cooling, surface preparation and any hold time requirements. The weld is subjected to a visual inspection to confirm dimensional acceptance to the design criteria and designated weld quality class. Surface deviations, surface irregularities and discontinuities are interpreted, evaluated and reported at this stage of manufacture and if acceptable and contractually required released for NDT inspection.

BS EN ISO 5817 has three quality levels:
- Moderate – D
- Intermediate – C
- Stringent – B
BS EN ISO 17635 non-destructive testing of Welds – General rules for metallic materials ANNEX B correlates the applicable NDT Methods with the designated weld quality class and the relevant acceptance criteria.
Examples provided:
Weld Quality C fillet examined by Magnetic Particle Inspection will be accepted to ISO 23278 2x.
Weld Quality C butt weld above 8mm will be examined by UT and MT.
NDT Surface Inspection is basically divided into two Methods which can be determined by Ferrous or Non-Ferrous material designation.
Magnetic Particle Testing (MT) – Applied to Ferrous material, MT can be carried out using colour contrast and fluorescent techniques using portable yokes.
Liquid Penetrant Testing (PT) – Applied to non-ferrous material, PT can be carried out using colour contrast and fluorescent techniques.
Visual Testing (VT) – Applied to all material ensuring the surface condition is suitable for examination and ensuring visible defects are not present. Tru-Tec NDT also remotely visual examines internal bores and weldments using borescopes which can record examinations.
Eddy Current Testing (ET) – Applied to coated surfaces, ET can effectively and efficiently detect surface breaking discontinuities without the need for coating removal and re-application.
Pulsed Eddy Current Testing (PECT) – Allows for corrosion under insulation to be detected and measured on carbon steel structures such as pipes, vessels and tanks without the need to remove coatings.

Volumetric examination methods:
The Methods for volumetric are Ultrasonic (UT) or Radiography (RT).
Parent Material Thickness, Material Specification and ability to be transported will determine the applicable method.
UT and RT can be utilised in various techniques, and are now categorized into conventional and advanced techniques.
Manual Ultrasonic Testing (UT) – 8mm thickness and above ferritic material exhibits favourable attenuation.
Manual Ultrasonic Testing (UT) – 8mm and above Austenitic and Nickel based alloys.
Phased Array (PAUT) – Applicable for fast, repeatability and complex geometries.
Time of Flight Diffraction (TOFD) – Applicable for weld overlays, clad material.
Radiographic Testing (RT) – Conducted on test samples 8mm and below.
Computed Radiography (CRT) – Conducted on test samples 8mm and below.
Digital Radiography (DRT) – Conducted on test samples 8mm and below.
Supplementary Tests include but not limited to:
- Pre, During and Post Welding Inspection
- PMI positive Material Identification
- Hardness Testing
- Ferrite Testing
- Remote visual inspection
- Fischer scope cladding thickness
- ACPD crack depth
- Residual Magnetism (Demag)
- FARO dimensional Laser

