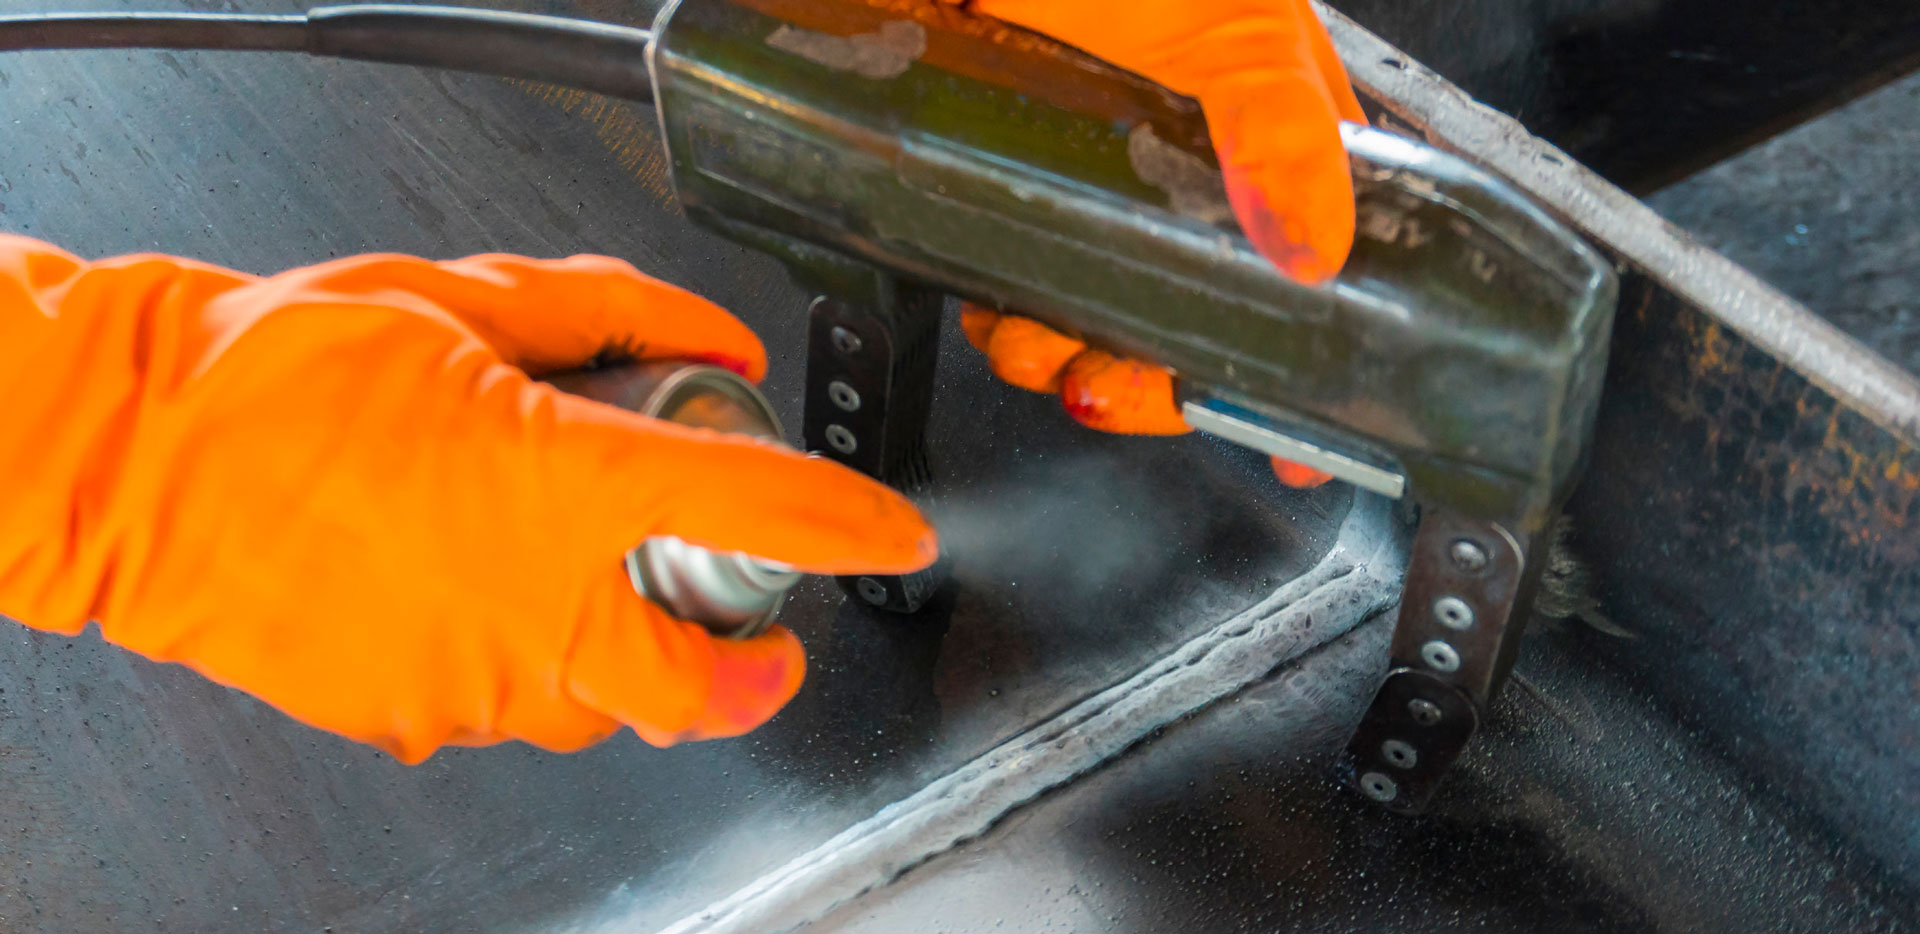
Magnetic Particle Inspection is the traditional non-destructive testing method used for detecting surface breaking discontinuities in ferromagnetic materials. When the appropriate technique is applied, inspections will assure all parties concerned of a compliant component.
The technique applied is paramount for the detection and subsequent assurance of an acceptable component surface, which is free from surface breaking defects and meets the customer requirements and referenced acceptance standards.
The application of inappropriate techniques can result in defective components feeding into to the manufacturing process, for example the incorrect application of the wet continuous technique or excessive residual magnetism remaining in components from the use of electromagnetic yokes are just a few of the potential risks when performing inspections which would diminish the effectiveness of the inspections.
Tru-Tec NDT procedures comply with the recognized technique for each component and standards referenced which assures customers that the approved magnetic particle inspection technique has been adhered too. This is coupled with a right first time attitude, which has resulted in compliant inspections with reduced downtimes and has also given customers the confidence to contract ongoing services to Tru-Tec NDT.
With the provision of innovative inspections services for sub-sea and downhole components, Tru-Tec NDT has established itself as a leading provider for magnetic particle inspection requirements of heavy forged components. These inspections are demanding and require wet continuous fluorescent magnetic particle inspection in accordance with API 6A code and ASTM international standards.
Tru-Tec NDT’s test house has a comprehensive range of plant and equipment allowing inspection to be conducted in accordance with all international standards. The equipment selection for each component is determined by the industry sector code, customer specification and/ or the referenced international standard.
Our test house includes:
- 10 x 10 metres inspection area, meeting all standard specific lux levels suitable for fluorescent and colour contrast inspection techniques.
- Bench units capable of producing of AC, DC and HWDC waveforms, in compliance with European and American standards.
- Power Packs with bespoke coils and clamps for irregular shapes and lengths.
- Our 1500mm x 400mm swinging field bench unit is a proven winner with increased outputs and reduction inspection times of up to 50% compared to traditional magnetic particle inspection benches. The swinging field bench also features an automatic demagnetization setting ensuring all components inspected are reduced to 0Gauss post-inspection.
Tru-Tec NDT developed a bespoke multidirectional magnetic particle inspection technique used extensively in the production of the Merlin Connector for Tension Leg platforms in the Gulf of Mexico.
The manufacturing process includes witnessing by an inspection authority third party inspector, ensuring the end user of an acceptable component in accordance with the specific level III approved procedure produced and authorised by Tru-Tec NDT.
The electromagnetic yoke technique, used before introduction of this technique lead to delays in production namely welding at site. Surface breaking defects in the weld preparation zone had not been detected and reported. A Root cause analysis report determined the areas concerned would be extremely difficult to perform the wet continuous fluorescent technique with a hand held yoke resulting in missed defects.
Due to the component length to diameter ratio exceeding the standard requirements eliminated the use of the indirect magnetisation coil/cable wrap technique.
Tru-Tec NDT designed a multidirectional direct magnetization technique, using bespoke purpose built clamps and powerpacks which allowed for the inspection of the outer diameter and internal diameter to be conducted simultaneously . To verify the technique developed was fit for purpose, a procedure and technique sheet was implemented to take test samples replicating the components with known defective areas.
Our technicians carried out a replica examination and determined the required field strength was readily achieved across the entire sample surface and discontinuities running across multiple planes could be detected. It was also ascertained that the new technique also reduced the inspection time by 25%.


